
Crochet guide · Beginner level
How to Crochet a Magic Ring and a Flat Circle
Learn how to create a neat adjustable center, then build it into a flat circle with clear steps, stitch counts and beginner-friendly tips.
A small adjustable loop is the start of countless crochet projects.
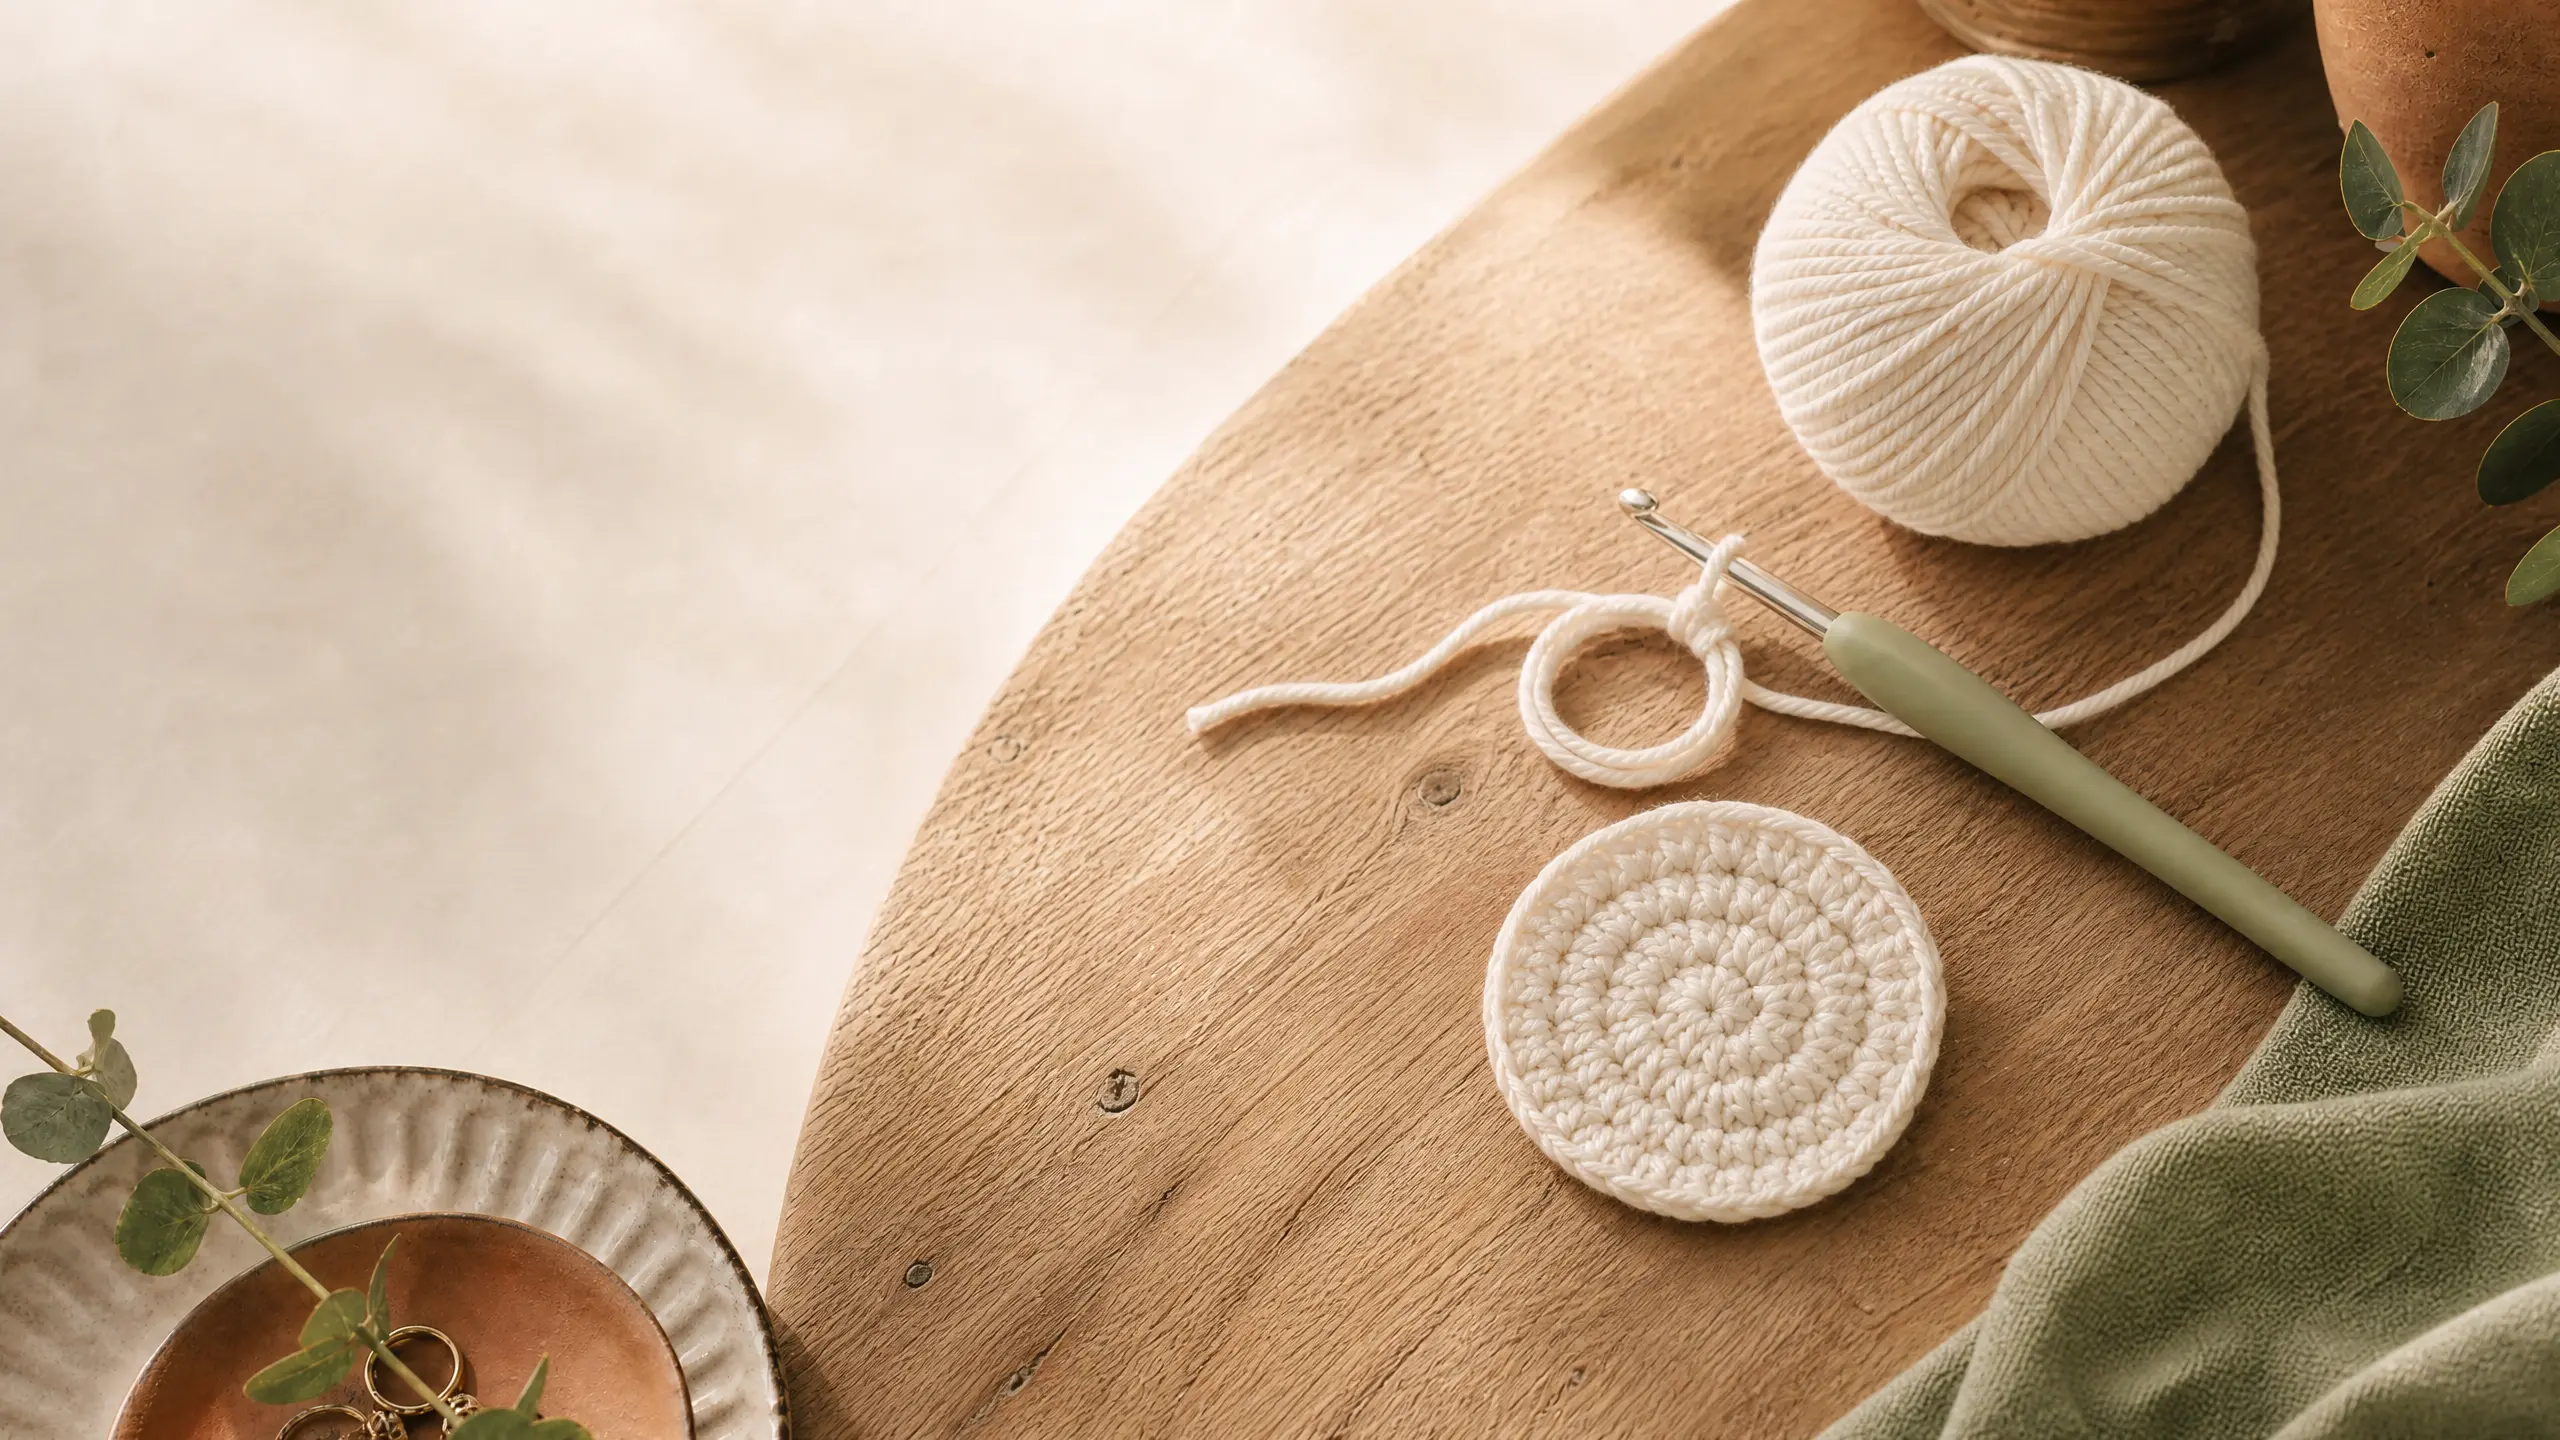
The magic ring, also called a magic circle or adjustable ring, is one of the neatest ways to begin a project worked in the round. It creates a center that can be pulled closed, making it ideal for amigurumi, hats, coasters and circular bases.
Why use a magic ring?
Materials needed
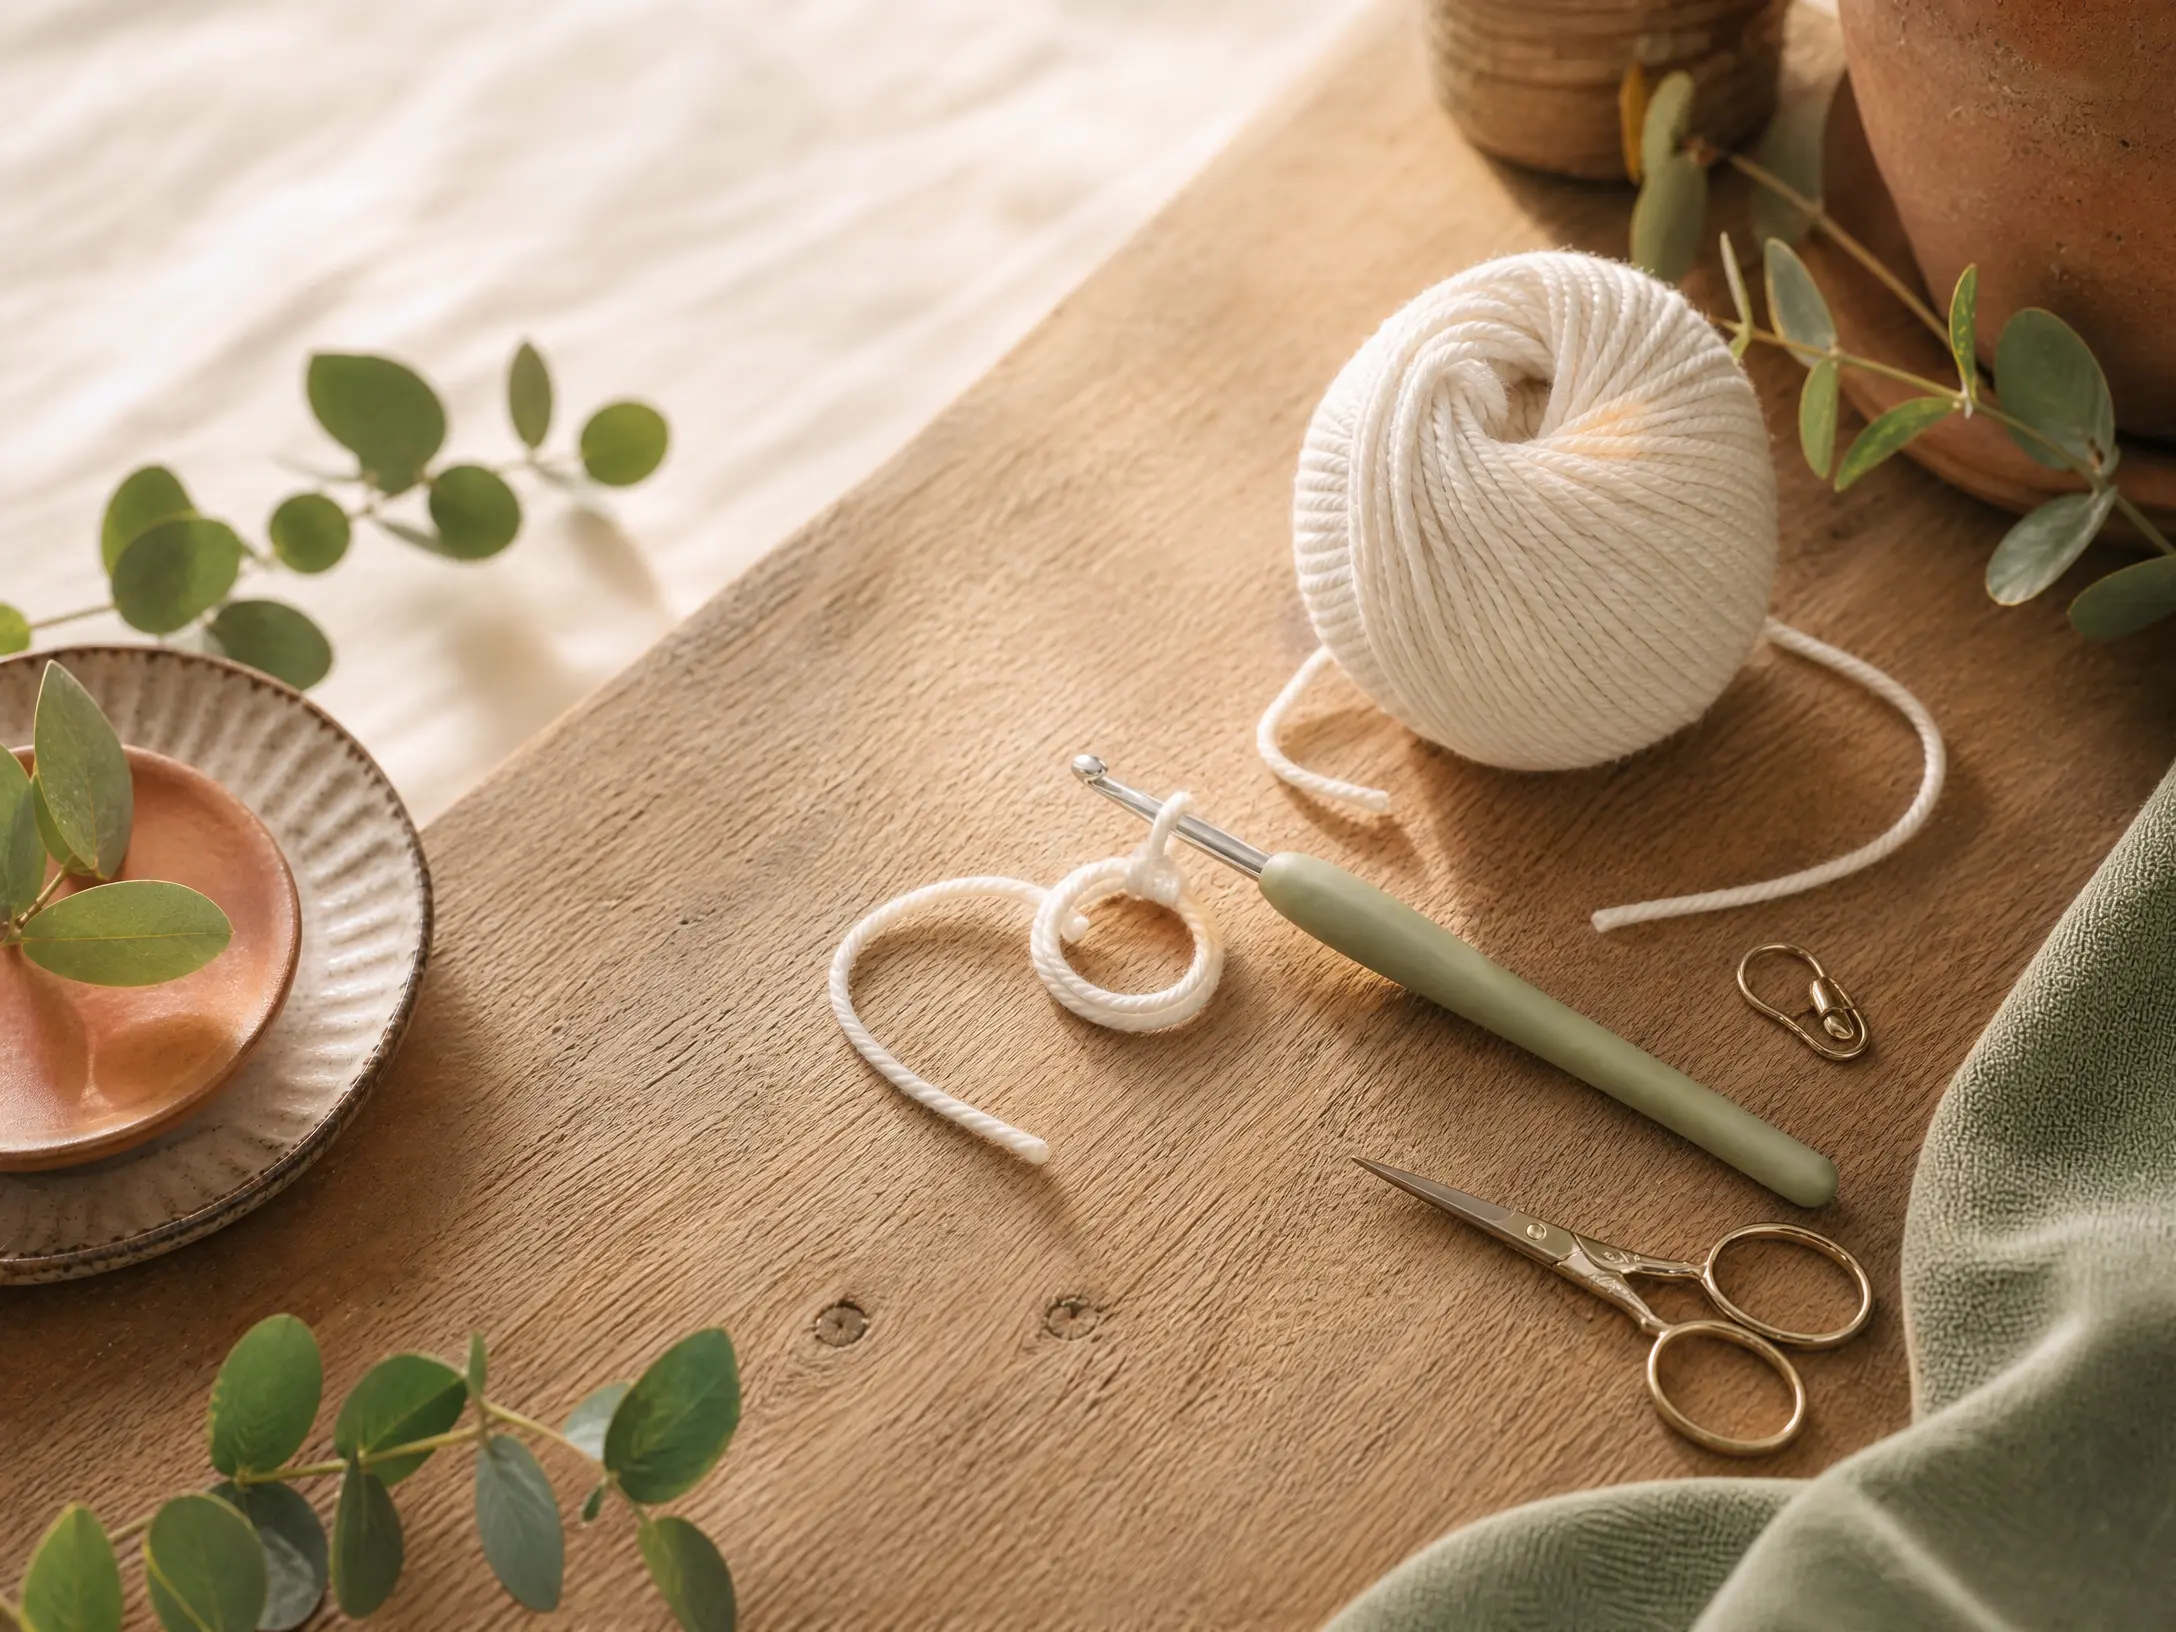
You do not need many tools to practice. Choose a smooth, medium-weight yarn and a color that makes each loop easy to see.
- A ball of yarn in a smooth cotton or acrylic fiber.
- A crochet hook that matches the yarn label, often 4–5 mm for practice.
- A pair of scissors for the finishing touches.
- A stitch marker, especially helpful when working in a spiral.
Leave a yarn tail of about 10–15 cm. A longer tail is easier to hold and pull when you close the ring.
How to make a magic ring
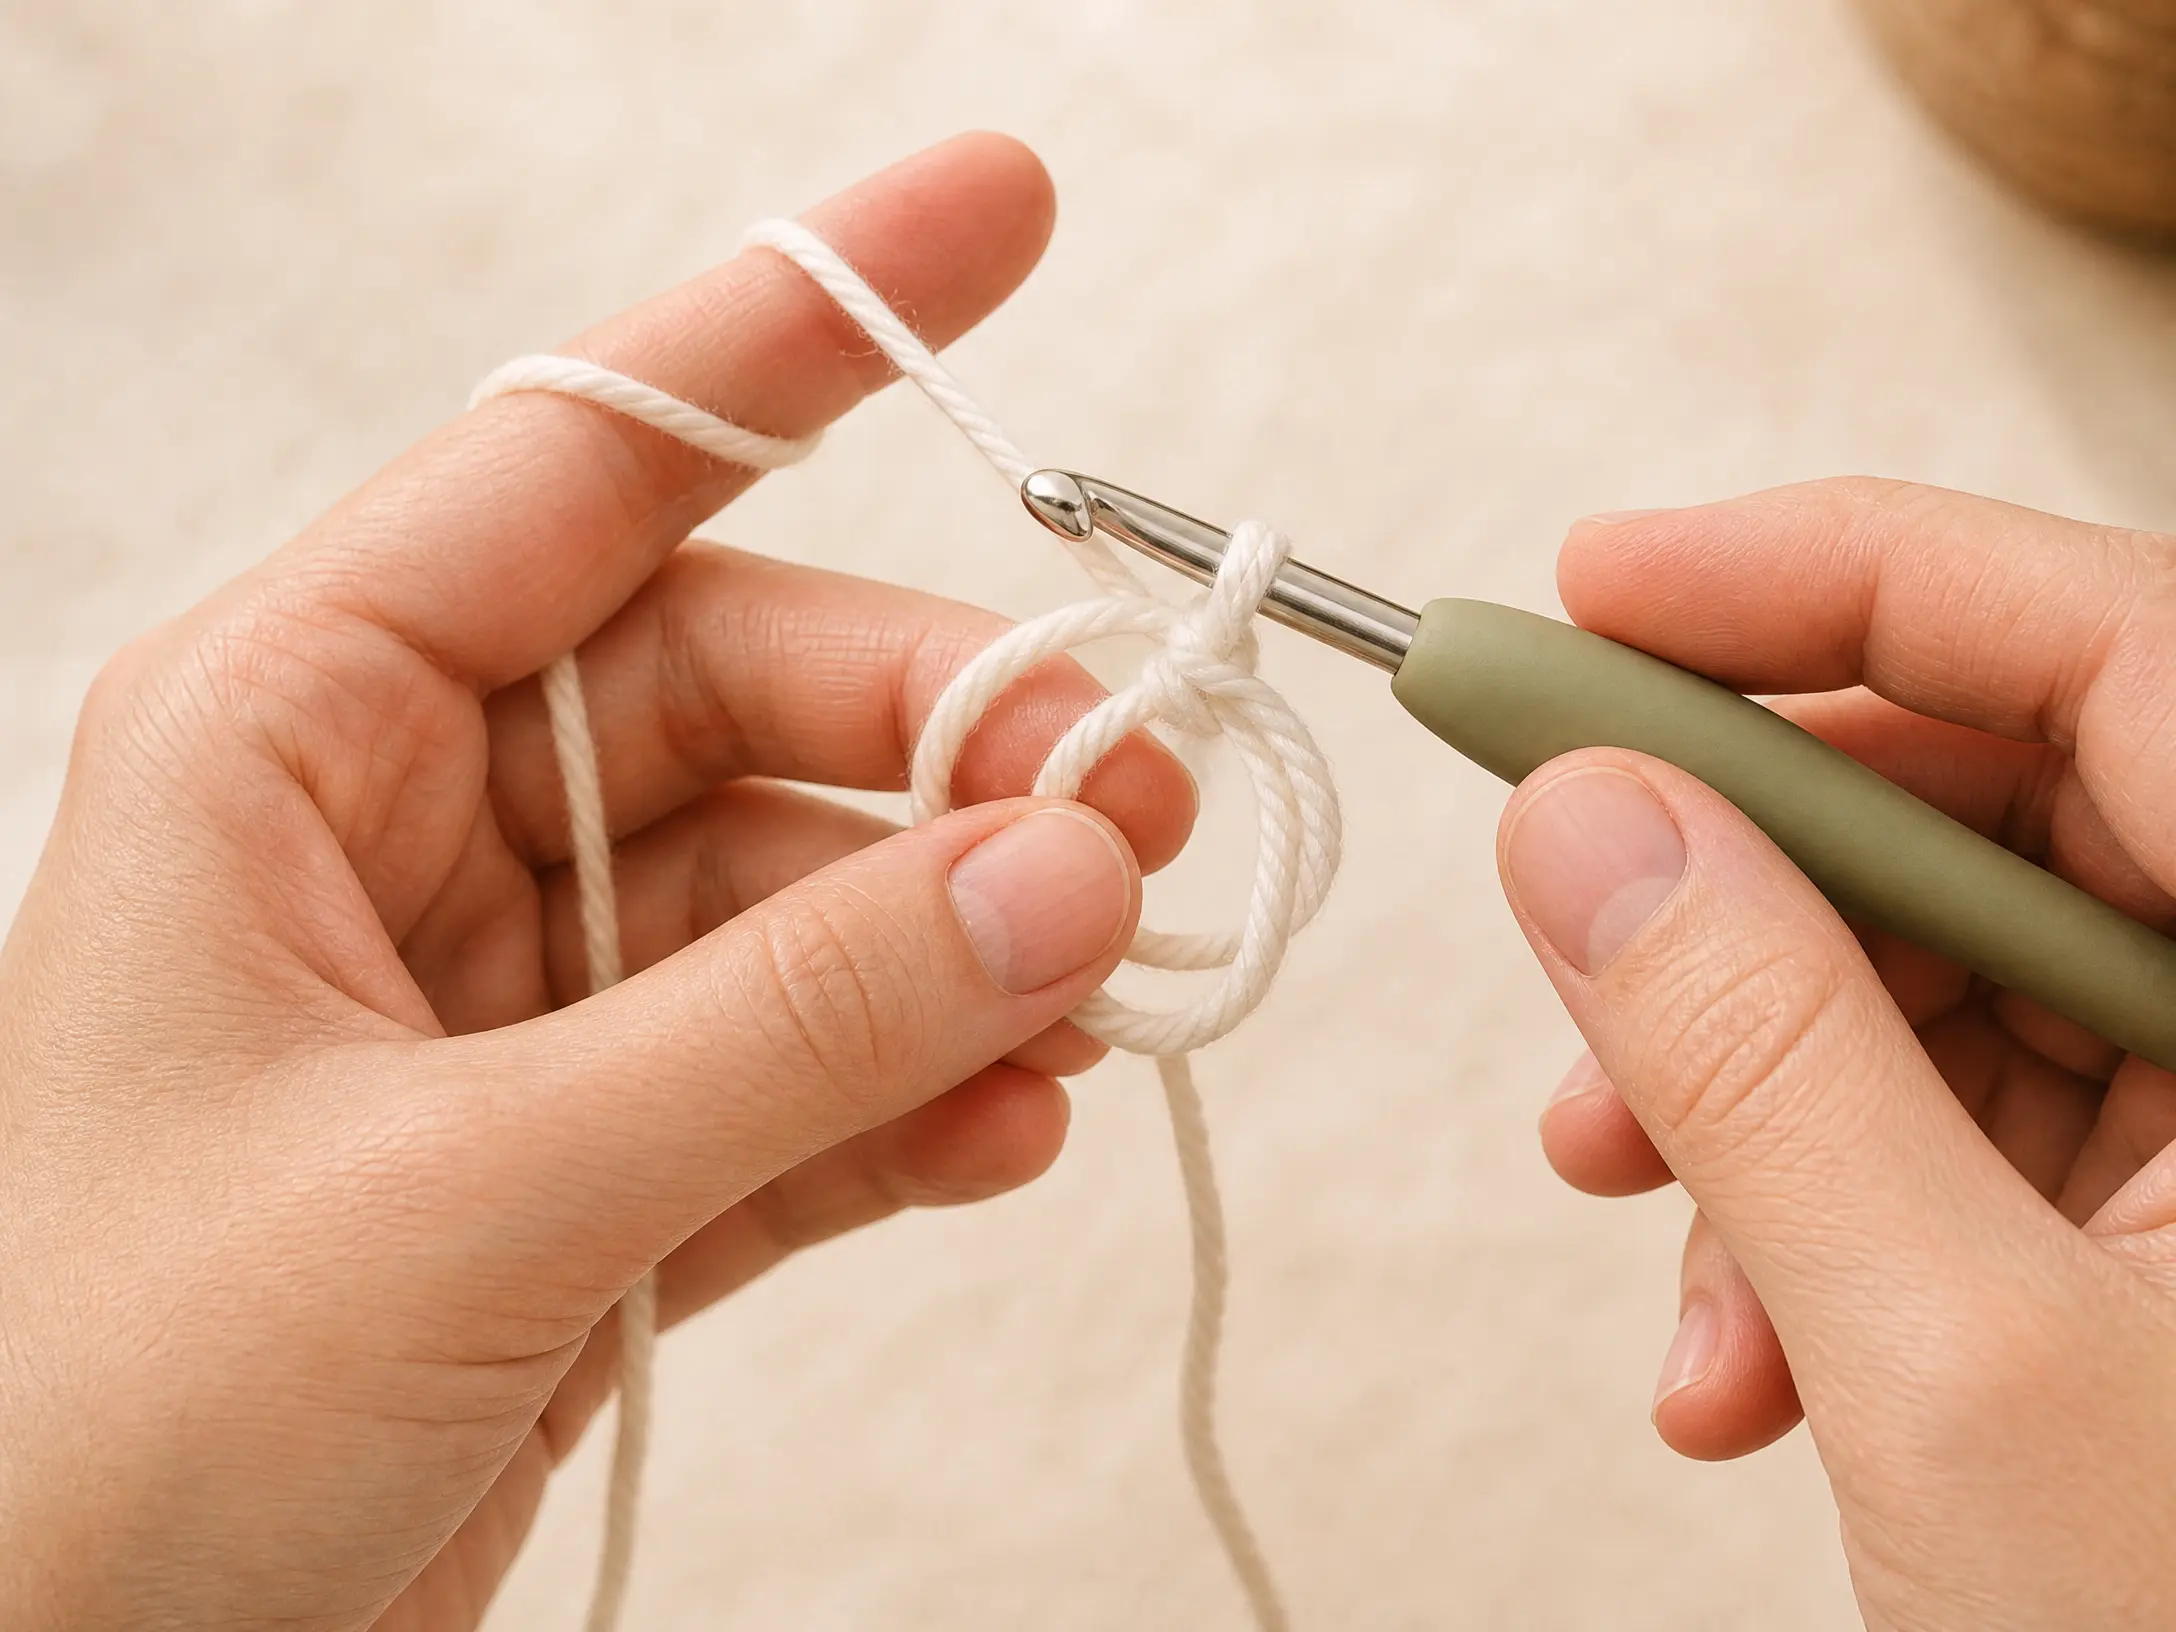
Make a loop with the yarn
Leave a tail, then wrap the working yarn around two fingers. Let the yarn cross over itself to form a clear X.
Insert the hook
Insert the hook under the front strand of the loop, from front to back. Keep the loop open with your fingers.
Pull up a loop
Catch the working yarn and pull it back through the ring. One loop is now on the hook while the adjustable ring remains open.
Secure the ring
Make one chain stitch. It usually does not count as the first stitch; it simply secures the ring.
Crochet into the ring
Work your stitches through the center of the ring, under both the ring strand and the yarn tail. For a common single crochet start, make 6 single crochet stitches.
Close the center
Hold the stitches gently and pull the yarn tail slowly. The adjustable ring will tighten and the center will close.
How to crochet a flat circle
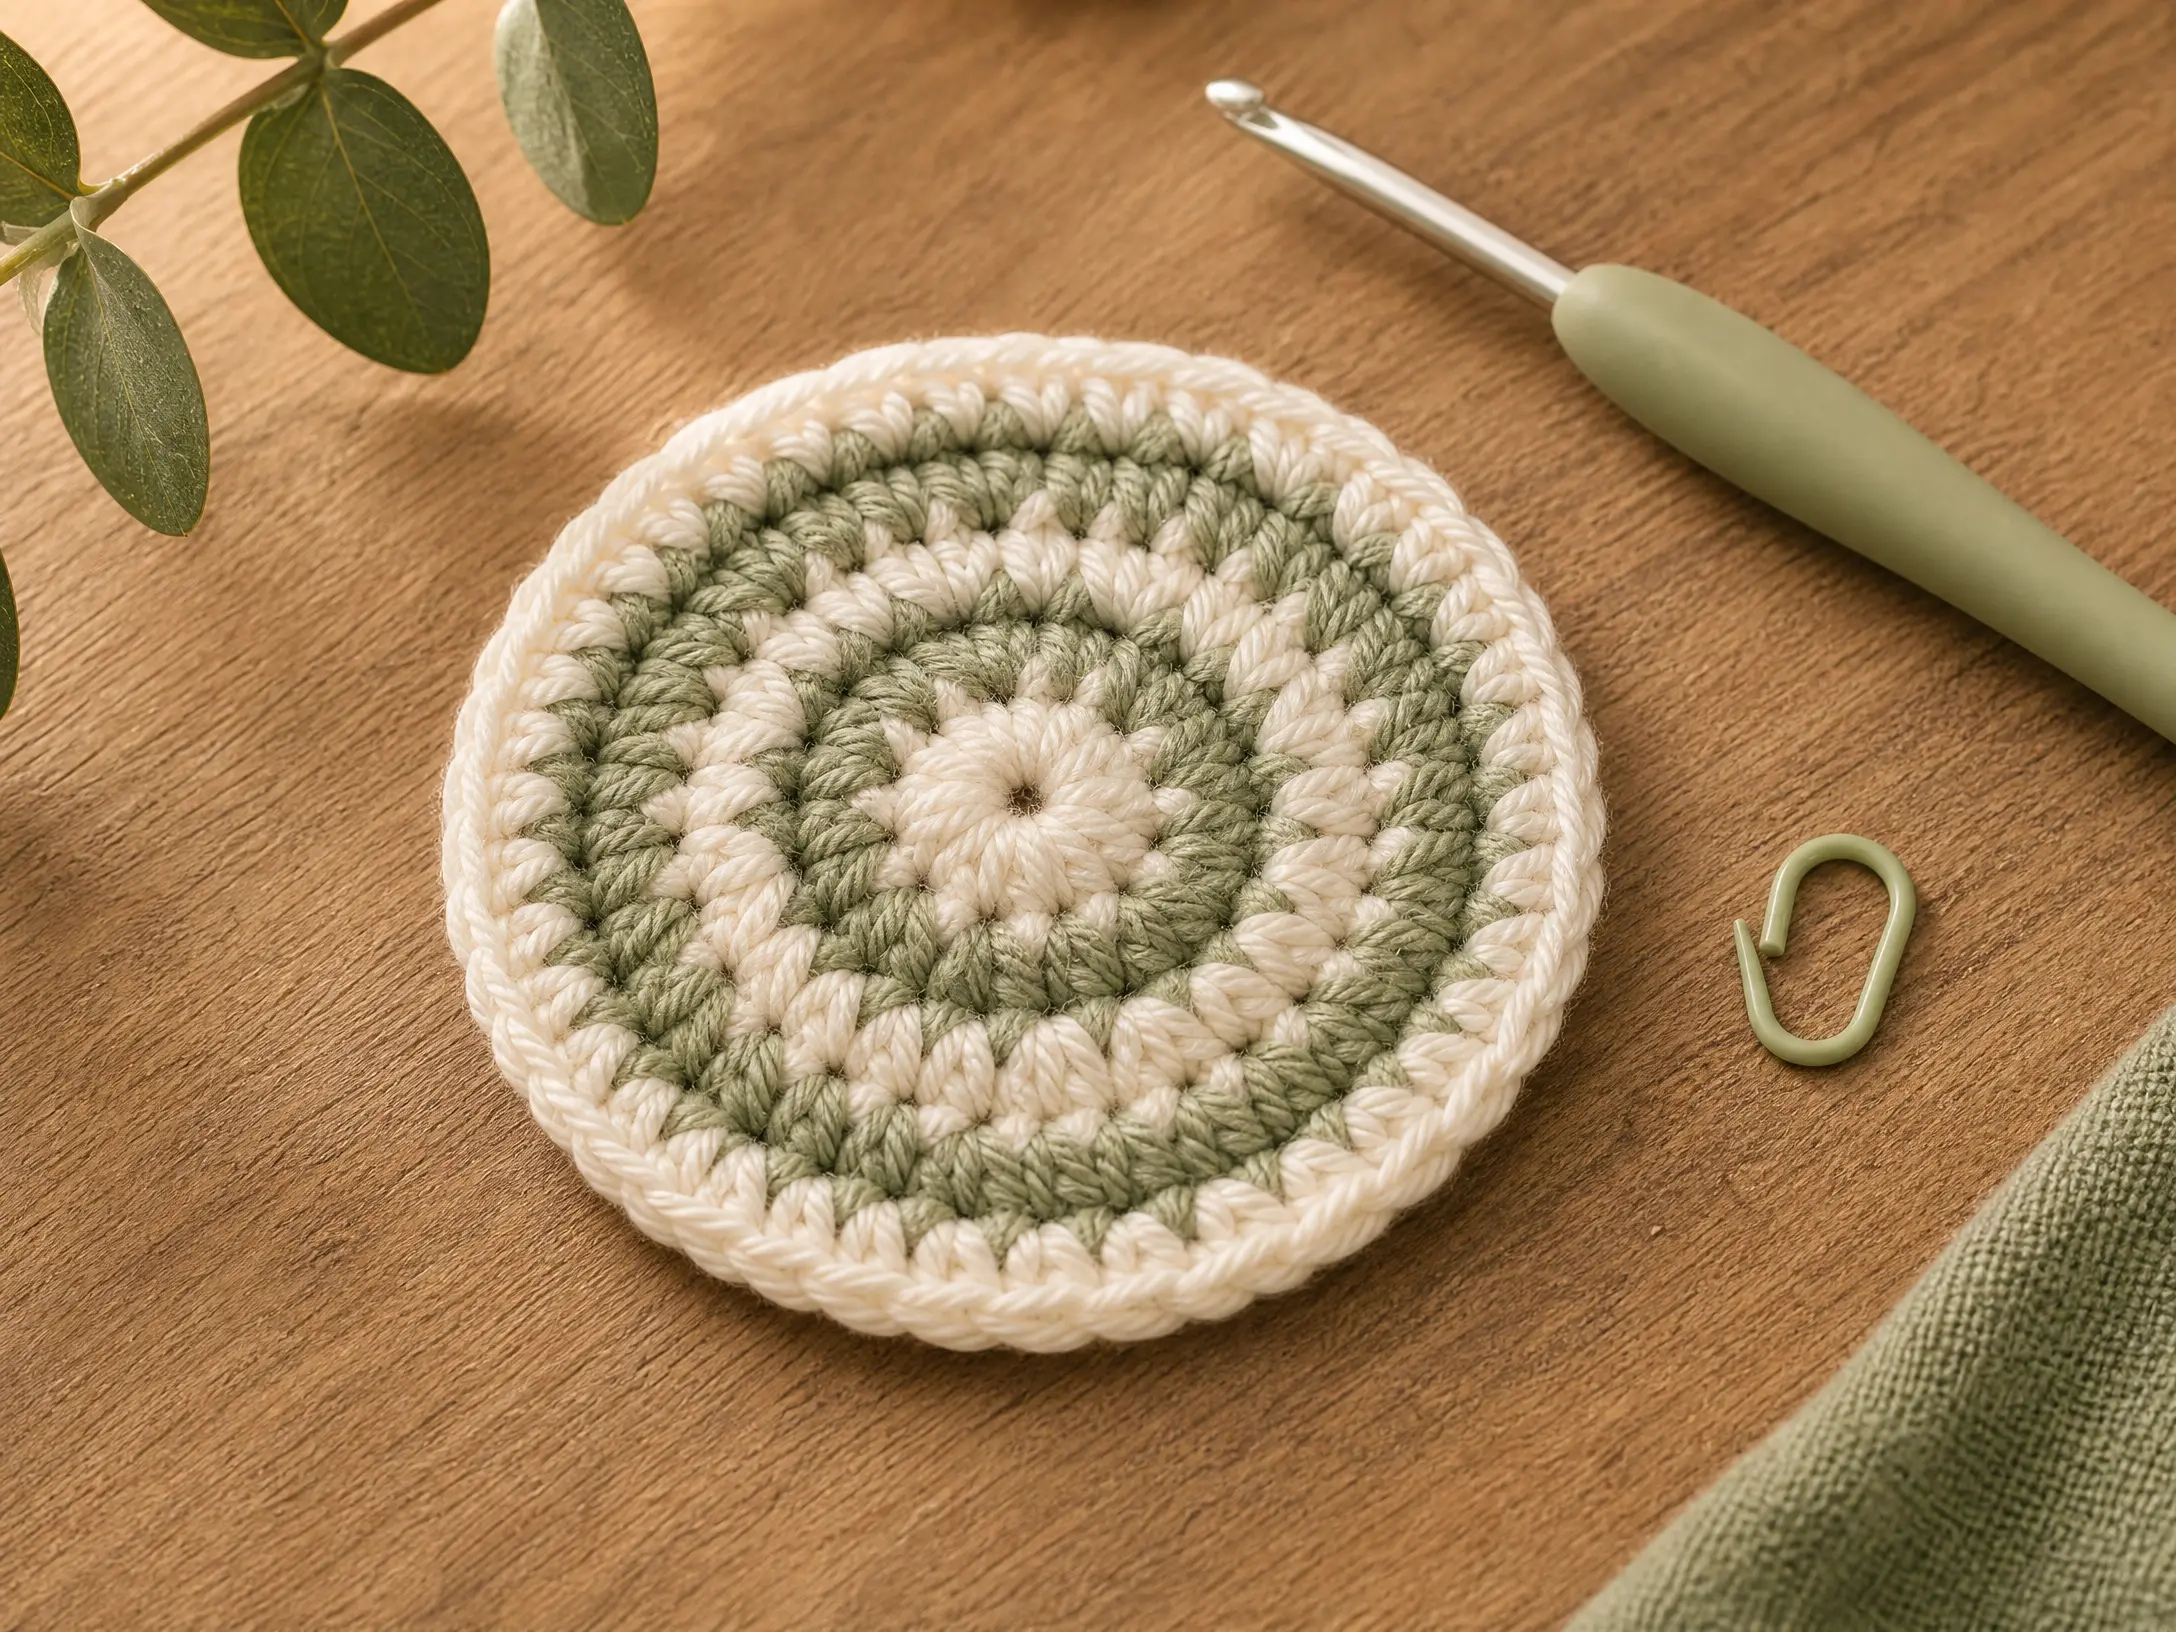
The example below uses single crochet and begins with 6 stitches. The general idea is simple: add one increase per stitch group in every round, and spread the increases evenly.
| Round | Instructions | Total stitches |
|---|---|---|
| 1 | Make a magic ring and crochet 6 single crochet into it. | 6 |
| 2 | Work 2 single crochet in every stitch around. | 12 |
| 3 | Repeat 1 single crochet, 2 single crochet in the next stitch around. | 18 |
| 4 | Repeat 1 single crochet in each of the next 2 stitches, 2 single crochet in the next stitch around. | 24 |
| 5 | Repeat 1 single crochet in each of the next 3 stitches, 2 single crochet in the next stitch around. | 30 |
In written patterns, an increase is often abbreviated inc. It means making two stitches in the same stitch.
Joined rounds or spiral rounds?
At the end of a joined round, make a slip stitch into the first stitch, then follow the turning-chain instructions in your pattern. This creates a visible seam but makes the end of each round easy to find.
When working in a spiral, do not join the rounds. Continue directly into the next stitch and move a stitch marker to the first stitch of each round. This creates a smooth surface, which is often preferred for amigurumi.
| Method | Best for | Point to remember |
|---|---|---|
| Joined rounds | Motifs, coasters and decorative circles | Close each round with a slip stitch when instructed. |
| Spiral rounds | Amigurumi, balls and seamless shapes | Move the stitch marker at the beginning of every round. |
Troubleshooting
The center will not close
Check that you are pulling the short yarn tail, not the strand leading to the ball. Hold the stitches while pulling slowly.
The ring comes undone
Make the securing chain before working the first stitches, and keep those stitches close to the ring.
The circle curls
There may be too few increases for your yarn, hook or stitch. Add increases gradually and check your pattern.
The circle becomes wavy
There may be too many increases. Check the stitch count and make sure two increases have not been placed too close together.
A simple practice exercise
Make a magic ring with 6 single crochet stitches. Close the center, then work four rounds using the increase table above. Count your stitches after every round and use a marker if you are working in a spiral.
Your first ring may not look perfect, and that is completely normal. Focus on keeping the center open while you work, pulling the tail only after the stitches are complete and maintaining relaxed tension.
Key takeaway
A magic ring gives you an adjustable, closed center for round projects. To make a flat circle, begin with a small number of stitches and add evenly spaced increases on every round. Once you can control the ring and count your increases, you can create bases, motifs and three-dimensional shapes with confidence.
Frequently asked questions
Is a magic ring the same as a magic circle?
Yes. These names usually describe the same adjustable starting loop. Some patterns also call it an adjustable ring.
How many stitches should I put in the magic ring?
Follow the pattern whenever possible. A common starting point is 6 single crochet stitches for a flat circle or a single crochet amigurumi base, but other stitches may require a different number.
Can I make a circle without a magic ring?
Yes. Make a short chain, join it into a ring with a slip stitch and work the first round into the center. The magic ring is simply a useful alternative when you want the center to close tightly.