
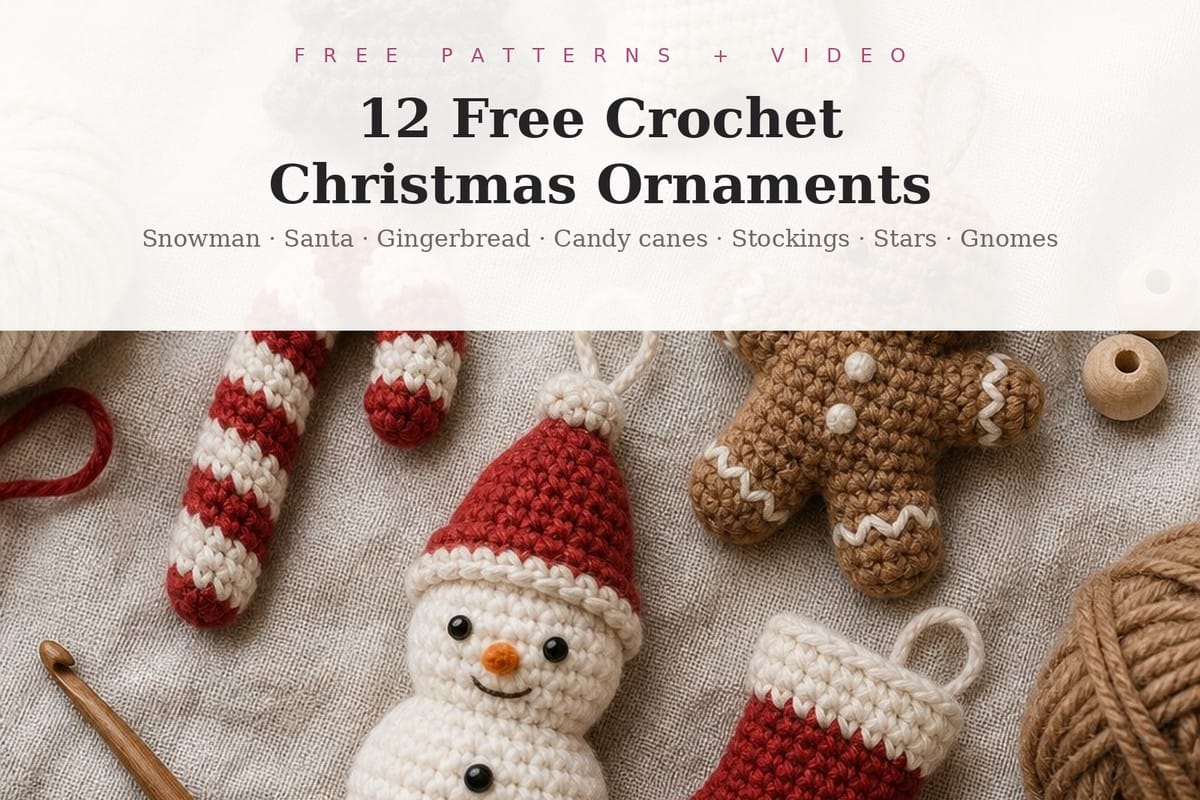
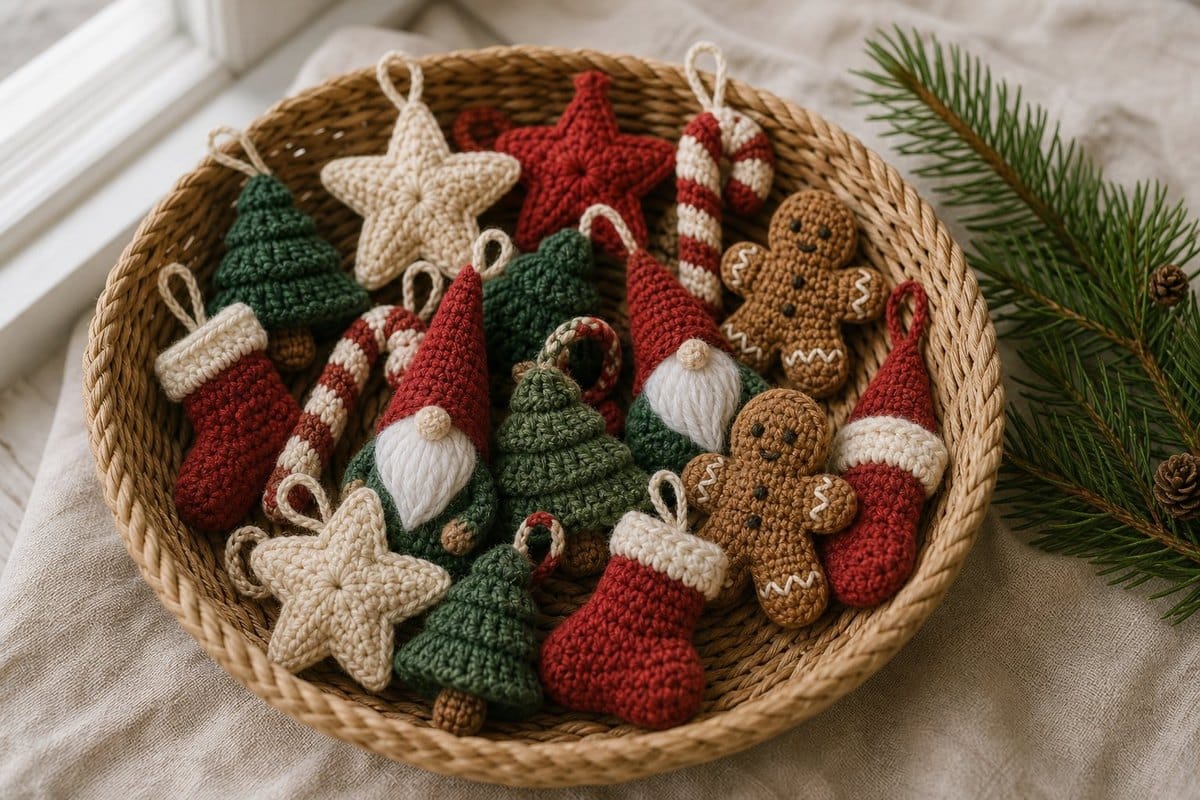
Christmas ornaments are the easiest crochet project to fall in love with. They are small, they are finished in an evening, and unlike a blanket you can actually see the result the same day.
I went through dozens of free patterns and kept twelve that have a proper video tutorial, use yarn you already own, and do not need a single special stitch. Most of them are done in under an hour.
What you need for almost all of these
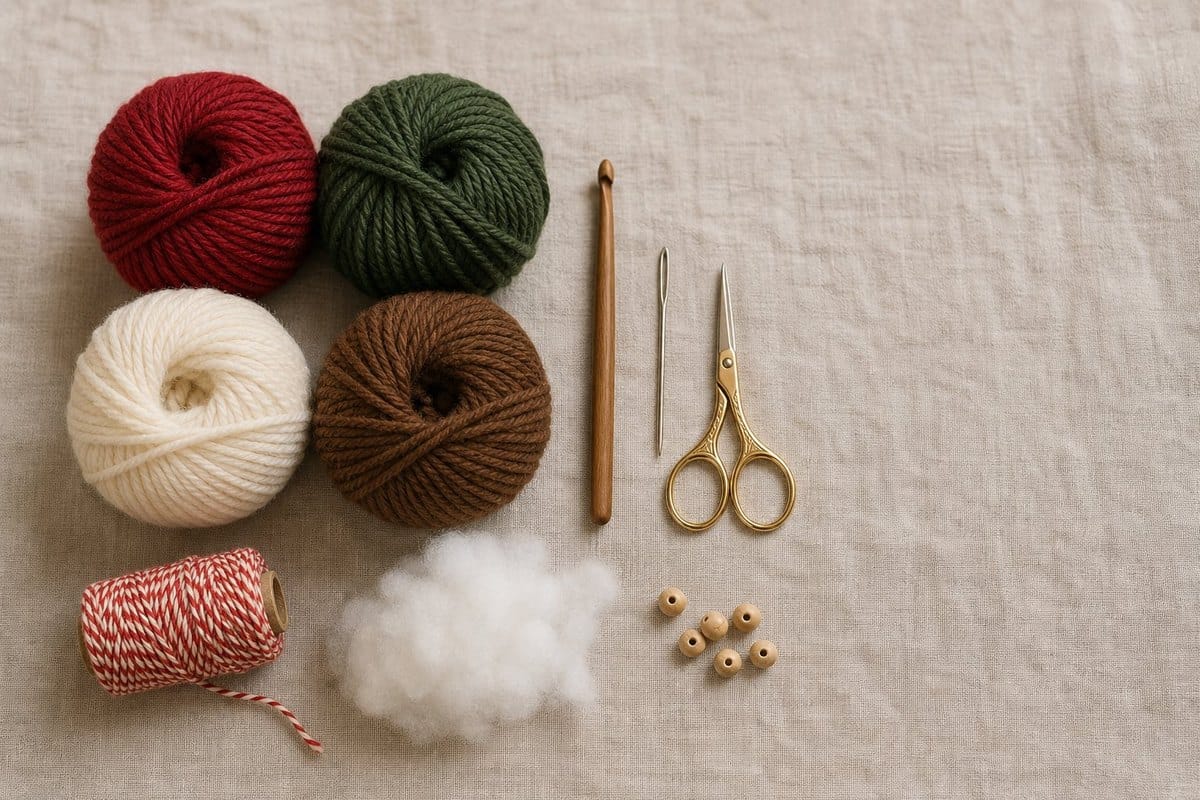
Worsted weight yarn (4) in red, white, cream, green and brown · 3.5 mm or 4 mm hook · a little stuffing · a yarn needle · twine or ribbon for hanging. Scraps are perfect — none of these use more than a few metres.
If you are completely new, read my beginner’s guide to crochet first, and practise the magic ring — about half the patterns below start with one.
12 Free Crochet Christmas Ornament Patterns
1. Snowman Ornament
Designer: Mariska Vos — DIY Fluffies · Beginner · full written pattern on her blog · Watch on YouTube ↗
Start here if you have never made an ornament before. The body is a plain increase-and-decrease ball, the carrot nose is four rounds, and the only fiddly bit is sewing the nose on straight. The written pattern sits alongside the video on her blog, so you can keep one open on your phone and one on a laptop.
I made this one first and the nose beat me twice — my carrot kept pointing down because I sewed it one round too low. Pin it in place and look at it from the front before you put a single stitch in.
2. Mini Santa Claus
Designer: Little Crochet Farm · Beginner · two-part tutorial · Watch on YouTube ↗
A proper Santa in miniature, filmed in two parts so nothing is rushed. The hat is what sells it, and it doubles as the hanging loop. Use a cotton rather than acrylic for the beard — it holds its shape instead of going flat after a week on the tree.
This took me two evenings, not one, and that is entirely because of the beard. I used white cotton instead of acrylic and it was the right call: after three weeks on the tree it still looks fluffy instead of matted.
3. No-Sew Mini Gingerbread Man
Designer: Heather Corinne Crochets · Beginner · no sewing · Watch on YouTube ↗
No-sew means the arms and legs are worked straight off the body, so there is nothing to attach and nothing to go crooked. This is the one to make in a batch of ten for a garland. The written pattern is free on her site.
Eight of these in one evening while watching a film. No sewing really does mean no sewing, and that is the whole point — my gingerbread garland was finished before I got bored of it.
4. Kawaii Gingerbread Man
Designer: MeoW Amigurumi · Beginner · Watch on YouTube ↗
Same idea, rounder face, much cuter. The white icing is surface slip stitch worked on top at the end, which sounds advanced and is genuinely the easiest decorative technique in crochet. Make one of each gingerbread and you will see how much the face shape changes the character.
I like this face far more than the classic one, but the surface slip stitch icing needs a hook one size smaller than the body or it digs in and puckers. I used a 3 mm on a 3.5 mm body.
5. Mini Christmas Tree
Designer: The Loopy Lamb · Beginner · flat ornament · Watch on YouTube ↗
Flat, quick, and it lies properly against the branch instead of spinning. Because it is worked in rows rather than rounds, it is a good first project if magic rings still make you nervous. A wooden bead at the top instead of a star is a nice finish.
Worked in rows, so no magic ring — this is the one I give to friends who are still scared of starting in the round. Mine took 35 minutes and I added a tiny wooden bead at the top instead of a star.
6. Christmas Star
Designer: Pora Pora Crochet · Beginner · flat ornament · Watch on YouTube ↗
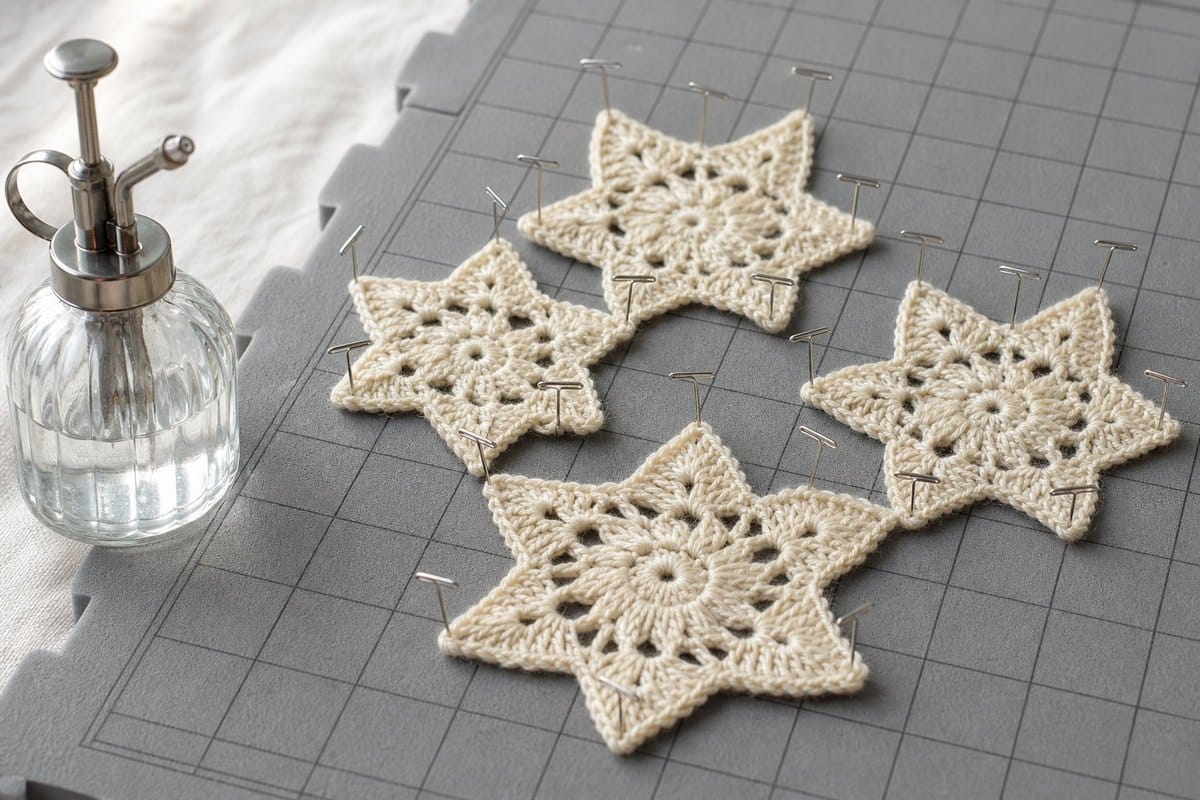
Five points, two rounds, done in twenty minutes. Make a dozen in cream and gold and you have a whole tree’s worth for the price of one skein. Block them — a quick spray of water and pinning them flat overnight is what turns a floppy star into a crisp one.
I made twelve of these in cream and gold in one sitting. Do not skip the blocking: my first three went straight on the tree unblocked and they curled up like crisps within a day.
7. 3D Candy Cane
Designer: Theresa’s Crochet Shop · Beginner · about 1 hour · Watch on YouTube ↗
Six inches tall and stuffed, so it reads as a real candy cane rather than a flat motif. The stripes come from changing colour every two rounds, which is the cleanest way to learn colour changes on a tube. Bend the hook at the end and tack it with two stitches.
Just over an hour, exactly as she says. The trap is the bend — if you only tack the hook with one stitch it swings back straight, so I used three and it finally held.
8. Candy Cane Applique
Designer: Cookies Crochet · Beginner · written pattern in the video at 2:18 · Watch on YouTube ↗
The flat version, and the fastest thing on this list. Glue or sew it onto a gift bag, a card or a stocking and it instantly looks handmade rather than bought. She gives the written pattern on screen at 2:18 if you prefer to read.
The fastest thing on this whole list, about fifteen minutes. I sewed mine onto a plain kraft gift bag and it genuinely looked like something from a boutique, which is a good return on fifteen minutes.
9. Vintage Candy Cane
Designer: Made by Phia · Beginner · very slow and clear · Watch on YouTube ↗
A simpler, old-fashioned shape and the calmest tutorial of the three candy canes. If the other two go too fast for you, start with this one. It uses barely any yarn, so it is the perfect excuse to use up red and white scraps.
If the other two candy canes go too fast for you, start here — she stops and shows the hook position at every colour change. I used leftover red from a scarf and used barely two metres.
10. Mini Stocking
Designer: love.life.yarn. by Amanda · Beginner · single crochet only · Watch on YouTube ↗
Single crochet from start to finish, no other stitch. The heel turn looks like the hard part and it is really just working into the same stitches twice. Big enough to hold a chapstick or a chocolate, which makes it a gift and an ornament at once.
Single crochet all the way through and the heel really is just working into the same stitches twice. I was convinced I had done it wrong until I turned it right side out and there was a proper foot.
11. 15-Minute Stocking
Designer: Hopeful Turns · Beginner · hexagon method · Watch on YouTube ↗
This one is clever: you crochet a hexagon, fold it, and it becomes a stocking. Fifteen minutes is not an exaggeration once you have done one. If you need twenty ornaments for a craft fair stall by next weekend, this is the pattern.
The hexagon trick is the cleverest thing I have learned this year. My first one took 25 minutes because I kept re-watching the fold, the second took twelve, and after that it is automatic.
12. Christmas Gnomes
Designer: Arakhne · Beginner · tiny · Watch on YouTube ↗
Gnomes have been the top-selling handmade Christmas item for about five years running and they are mostly just a cone and a nose. These are tiny — tree-ornament size rather than shelf size. Vary the hat colours and no two look the same.
I made six with different hat colours and no two look alike, which is why these sell so well at fairs. Use a bulky yarn for the hat if you have it — it gives the gnome a much better silhouette.
Three things that make ornaments look professional
Block the flat ones
Stars, trees and appliques come off the hook curling. Spray them with water, pin them flat on a towel and leave them overnight. It costs nothing and it is the single biggest difference between a homemade ornament and a handmade one.
Use cotton, not acrylic, for anything white
Acrylic white goes grey and fuzzy after one season in a box. Cotton stays crisp and holds a blocked shape. For reds and greens acrylic is fine.
Hang them with twine, not yarn
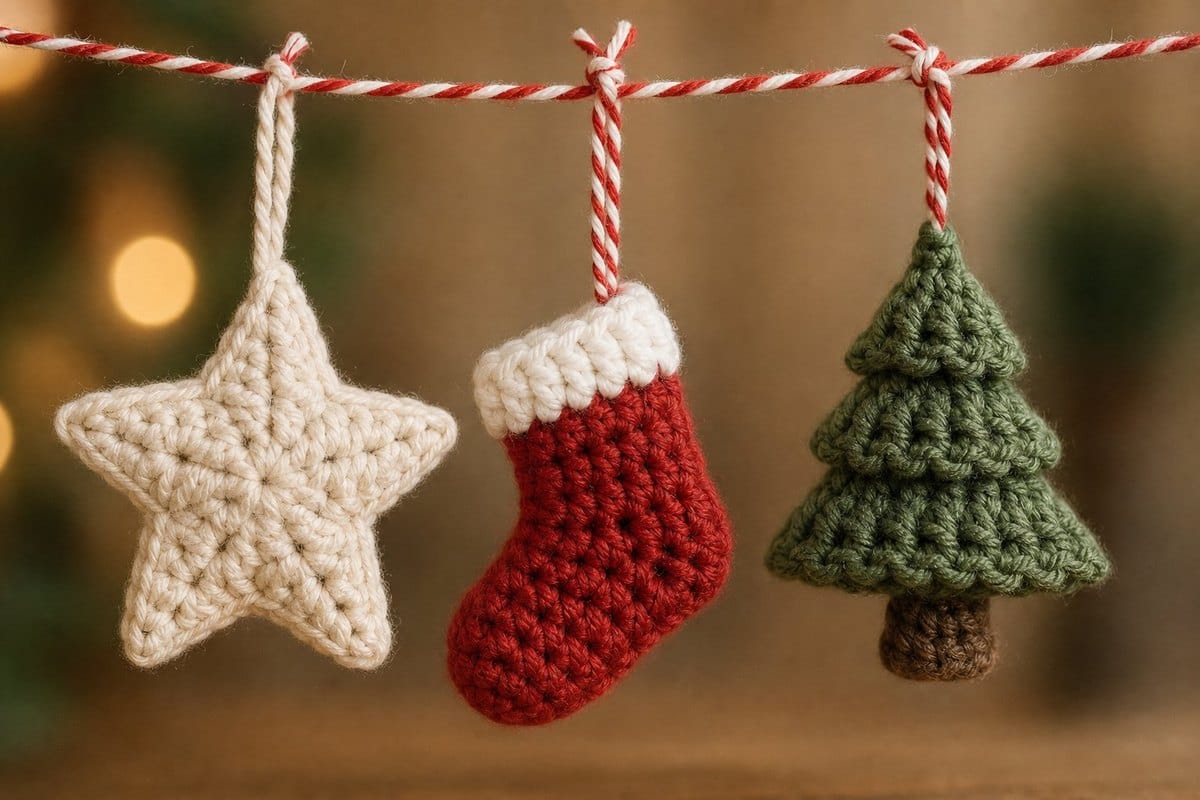
A yarn loop stretches and frays. Baker’s twine or thin jute costs almost nothing, holds its shape, and instantly makes the ornament look like something from a shop.
Want the printable version?
Free patterns are wonderful until you are halfway through round 23 and an ad reloads the page. My PDF patterns are ad-free, printable, and laid out so you can tick off rounds as you go.
Browse the PDF pattern library
Printable, ad-free, step-by-step photos. Yours to keep forever.
Lifetime access · Instant download · US crochet terms
Looking for more small quick makes? Try my flag keychain pattern or my free Halloween patterns roundup — same idea, different season.
Frequently asked questions
What yarn is best for crochet Christmas ornaments?
Cotton for anything white or anything you want to block flat, because it holds its shape and does not go grey. Worsted weight acrylic is fine for reds, greens and browns, and it is cheaper. Avoid fluffy or chenille yarns — the stitch definition disappears and the ornament looks like a blob.
How long does one ornament take?
The stars and appliques are twenty minutes. The stockings and candy canes are about an hour. Santa and the snowman are closer to two, because they are small amigurumi with parts to sew on.
Can beginners make these?
Yes. Every pattern here only needs chain, single crochet, increase and decrease. If you can do those four things you can make all twelve. My single crochet guide covers the main one.
Can I sell ornaments made from these patterns?
That depends on each designer, and most of them allow selling finished items but not reselling the pattern. Check the designer’s own page — I have linked every one of them above. Never copy or republish the written pattern or the video.
When should I start making Christmas ornaments?
October, if you want to sell them. Craft fairs and online orders peak in November, and buyers start searching for handmade Christmas decorations about eight weeks before the holiday.
One free pattern in your inbox each week
Seasonal makes, beginner tips, and new patterns before anyone else. No spam, unsubscribe anytime.
Which one are you making first? I always start with the stars because they are quick and they make the tree look finished. Tell me in the comments, and tag @ichraq.crea if you share a photo.